The content of the article
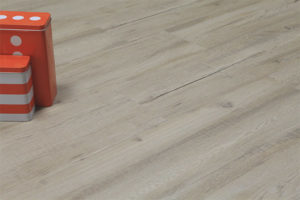
PVC tile - a material that is gaining popularity. However, it does this by leaps and bounds. However, the rapidly growing demand for such a floor, which, by the way, is also suitable for walls, is not inexplicable. Next, we will definitely figure out how to install PVC tile on the floor, however, first, find out the secrets of its success.
The advantages of PVC tiles
The main competitors of this material is ceramic tile. However, its analogue of PVC has a number of predominant factors, which will be listed below.
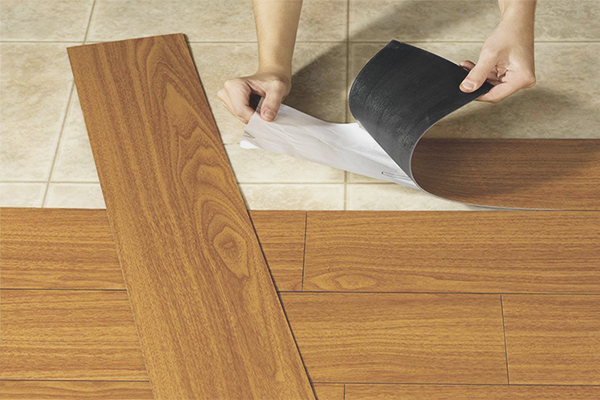
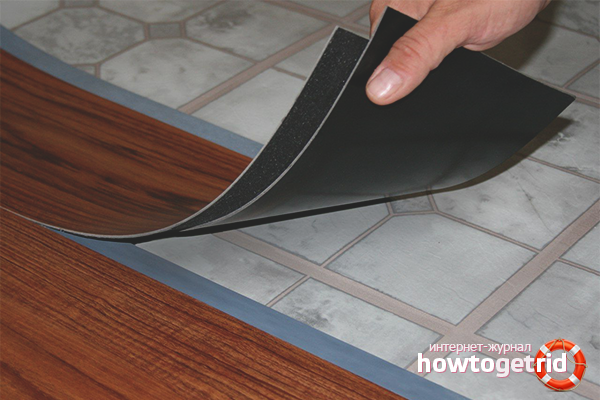
- Ease of installation. The material has a self-adhesive base that allows you to cope with the work much faster. In addition, there is no need to gloss over the seams between the tiles and wait for them to dry. PVC floor will be immediately suitable for use.
- Ability to install in different rooms. Have you ever seen a living room that has been tiled? Few would dare to make such a decision.But PVC analogue can be installed absolutely in any room. The main thing - to choose the right color, pattern and shade.
- Durability and wear resistance. PVC tiles can withstand more than one million steps. At the same time, its appearance will not deteriorate at all.
- Ease of care. To care for the material is a pleasure. It is enough to wipe it with a damp cloth to make it new.
- Acceptable price. Tiling the floor is not cheap. PVC tile in this regard is much more economical.
- Security. It is terrible to imagine what injuries could be after falling on a tile. PVC tiles are much softer, and as a result, safer.
- Elasticity. Even if the floor has minor irregularities, the tile will become as poured.
- Thermal insulation properties. If you are not the happy owner of warm floors under the tile, then you probably know the situation when this material cools down in winter, so much so that the cold can be heard through the room slippers. PVC tile not only cools down, but also does not release heat from the room through the floor.
Installation of PVC tiles
Well, how? Impressed by the benefits? If so, let's discuss how to mount this wonder material on your floor.
Preparatory work
Starting a repair, you should start all over again. In this case, you should thoroughly prepare the main floor surface. First of all, you should completely dismantle the old coating. If you ignore this stage and immediately begin to install PVC tile, there may be unpleasant consequences in the form of improperly installed parts or their inconsistencies.
After that you need to follow the steps below:
- The surface is thoroughly cleaned;
- Cracks are sealed with a special solution;
- Draft coating primed.
Next, the floor should be leveled. To do this, you can lay sheets of plywood or drywall. However, the best option would be laying a concrete screed. But do not forget that using the third method, you should stock up with a large amount of primer, as it will be needed again when the finished screed dries.
Upon completion, an already perfectly flat surface should be re-cleaned. Do not use chemicals.
The base is ready, but you need to prepare and PVC tile. It should be kept in the course of the day in a straightened form at room temperature.
In the conclusion of the section, it will be useful to place one piece of advice, which is useful if you decide to make a tie. It is known that if its moisture level exceeds the norm, the material cannot be glued. However, how to check this very level if there is no moisture meter at hand. To answer this question the next life hack will be demonstrated.
On the floor should put an ordinary paper napkin. From above, it is covered with one-piece polyethylene, which is 10-15 cm longer than a napkin. After that, all the edges of the material are sealed with tape, and left for 12-15 hours. If during the allotted time the napkin remains dry, it is possible to proceed to the main work. If not, you should still wait.
Set of tools
While the tile is aged in the room, do not waste time. To install it on the floor, you will need a certain list of tools. Without them, you are unlikely to succeed. So, remember:
- Notched trowel;
- PVC adhesive;
- Level;
- Roulette;
- A thread;
- Pencil;
- Square and sharp knife for cutting.
Markup
When all the tools are at hand, I already want to start installing the plates.However, it is necessary to calm down a little and for some time recall drawing lessons. As you already understood, you should start the markup first.
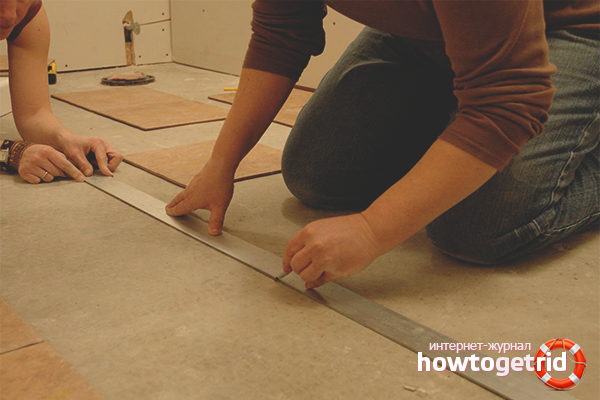
First you need to determine the center of the room. This can be done easily with the help of roulette and thread. From the center point a right angle of 90º should be made. It is along these two lines that the further installation begins.
Also, the markup can help if the tile has an ornament with various inserts. Place their installation is better to note in advance.
Piling
Finally, we have reached the final and most important stage - laying PVC tiles. So, as mentioned earlier, you should start with a sticker along the marked lines in the center of the room.
Glue is applied immediately to several plates (approximately 5 square meters) and is evenly distributed with a notched trowel. Optimum glue consumption per 1 sq. M. should be 300-400 g. Do not forget that the tiles in the package (every 4 pieces) are repeated, so watch this and do not mix them.
The tile needs to be laid end-to-end, without cracks. After gluing, the surface should be rolled with a roller, and wiped off the adhesive with a sponge. After 30 minutes, the manipulation with the roller must be repeated.
Before cutting the material should make a markup on the front side. PVC tile is cut quite easily.
At the end of the work we check everything for defects. If all is well, we praise ourselves and leave the room untouched for a day. After that it can be washed. You can put the furniture after 48 hours at the end of the work.
As you can see, there is nothing supercomplex in this work. Therefore, it is quite possible to cope and independently.
Video: Laying PVC Floor Tiles



To send